New Dashboard Notice
Bolt has launched a new Merchant Dashboard experience. See this corresponding page for help documentation that reflects the Legacy Dashboard.
Please note that Legacy Dashboard documentation may no longer have up to date information on our newest features and releases.
Bolt Payments is the all-in-one payment solution to support all major card brands and get simplified reporting, reconciliation, settlement, and fee structures, without the need for ongoing technical and maintenance costs.
Before You Start
Contact your Customer Success Manager (CSM) to inform them that you’d like to use Bolt Payments.
INFO
If you already use Stripe as a payment processor and would like to keep this relationship, Bolt may be able to integrate Stripe into our payments facilitation flow so you get the benefits of both our platforms. Speak to your CSM for more information.
Fill out Bank Information
- Log into the Bolt Merchant Dashboard.
- Navigate to Payments.
- Fill out the following groups of information:
Company Information
- Navigate to Payments.
- Go to Set up Bolt Payments and choose Company Information.
- Fill out the following fields:
- Business Name
- Company Employer Identification Number (EIN)
- Year Founded
Owner Information
- Navigate to Payments.
- Go to Set up Bolt Payments and choose Owner Information.
- Fill out the following fields:
- Account Number
- Routing Number
- First Name / Last Name
- Job Title
- Address Line 1
- City
- State
- Zip Code
- Date of Birth
- Last 4 Digits of SSN
- Stake %
- Have you accepted credit cards before? (Yes / No)
- Annual Credit Card sales volume (Expected in $)
Bank Information
- Navigate to Payments
- Go to Set up Bolt Payments and choose Bank Information.
- Fill out the following fields:
- Account Number
- Routing Number
Onboard with Bolt Payments
- Log into the Bolt Merchant Dashboard.
- Navigate to Payments.
- Click Add Bolt Payments.
- Review the list of required documents. When you’re ready to upload documentation, click Add details.
- The system navigates you to a new tab to upload documentation. When you finish, click Complete.
- The Bolt Payments setting page now displays a status of Pending review, which indicates that we received your submission and are reviewing the uploaded documents.
If we are able to verify your account with the documents you provided, we’ll automatically activate your new Bolt Payments account and notify you via email.
Additional Documentation Required
If we are unable to verify your account with the documents you provided, we will let you know which additional information is needed via email.
Common reasons why the initial verification was unsuccessful include the following:
| ID Documents | Bank Account | Company |
|---|---|---|
| Poor image quality or size | Incorrect routing or account numbers | Poor image quality or size |
| Expired | Statement missing details | Incorrect, invalid, or missing business details |
| Invalid | Statement is too old | Does not match accountholder |
| Does not match accountholder | Does not match accountholder |
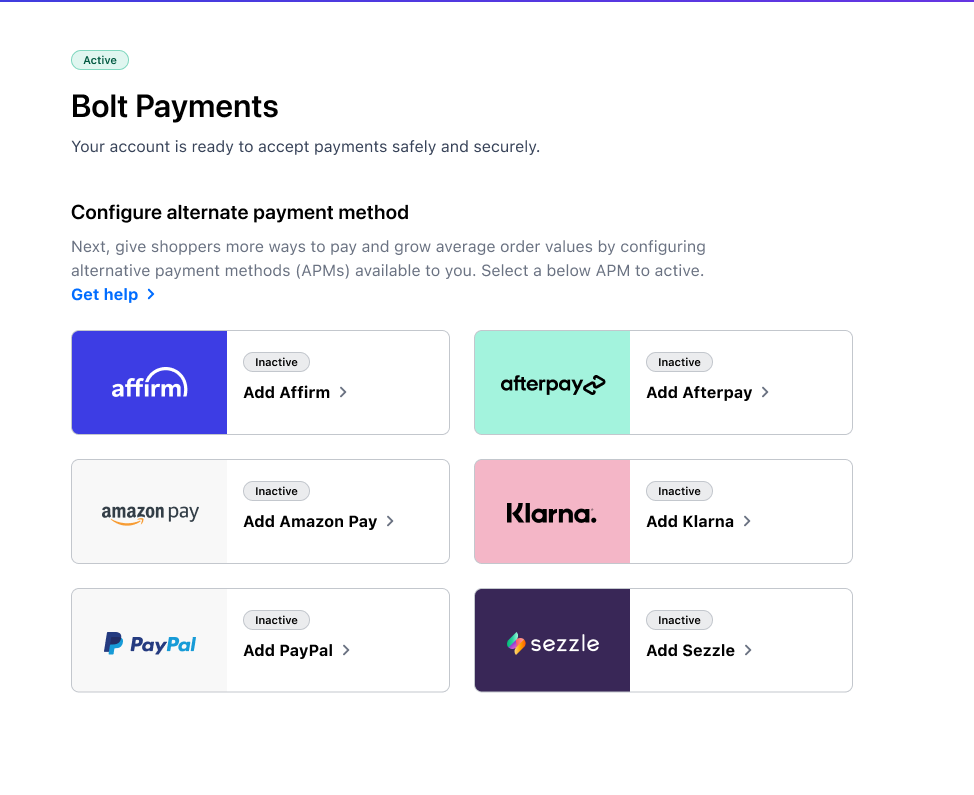
Set Up Alternative Payment Methods
To offer shoppers alternative ways to pay, refer to Enable Alternative Payment Methods.