New Dashboard Notice
Bolt has launched a new Merchant Dashboard experience. See this corresponding page for help documentation that reflects the Legacy Dashboard.
Please note that Legacy Dashboard documentation may no longer have up to date information on our newest features and releases.
Prerequisites
- If you are migrating from a different cart platform, see the Re-platforming section.
How to Install
Step 1: Upload Plugin
- Log into the WordPress Admin Dashboard.
- Navigate to Plugins.
- Select Add New.
- Search for
bolt checkout. - Select Install Now.
- Select Activate after installation is complete.
Step 2: Configure Plugin
- Log into the WordPress Admin Dashboard.
- Navigate to Plugins > WooCommerce Bolt Checkout > Settings.
- Enable Bolt Gateway.
- Enable Bolt Sandbox Mode for testing; disable for production.
Step 3: Add Webhook Endpoints in Merchant Dashboard
To complete the configuration, log into the Bolt Merchant Dashboard using the login details provided by Bolt.
- Log into the Bolt Production Merchant Dashboard and Sandbox Merchant Dashboard.
- Navigate to Administration > API.
- Scroll to Merchant Callbacks.
- Set the Webhook URL to:
https://[store_url]/wp-json/bolt/response - Set the Shipping URL to:
https://[store_url]/wp-json/bolt/shipping - Set the Tax URL to:
https://[store_url]/wp-json/bolt/tax - Set the Create Order URL to:
https://[store_url]/wp-json/bolt/create-order
- Set the Webhook URL to:
Approve Bolt IPs
Ensure the IPs provided by Bolt are approved to allow access to the endpoints above.
Step 4: Enable Single Sign-On (Optional)
If you want customers to be able to use SSO to login to their store account, follow the steps below.
- Contact your Bolt Account Manager to enable SSO for your store.
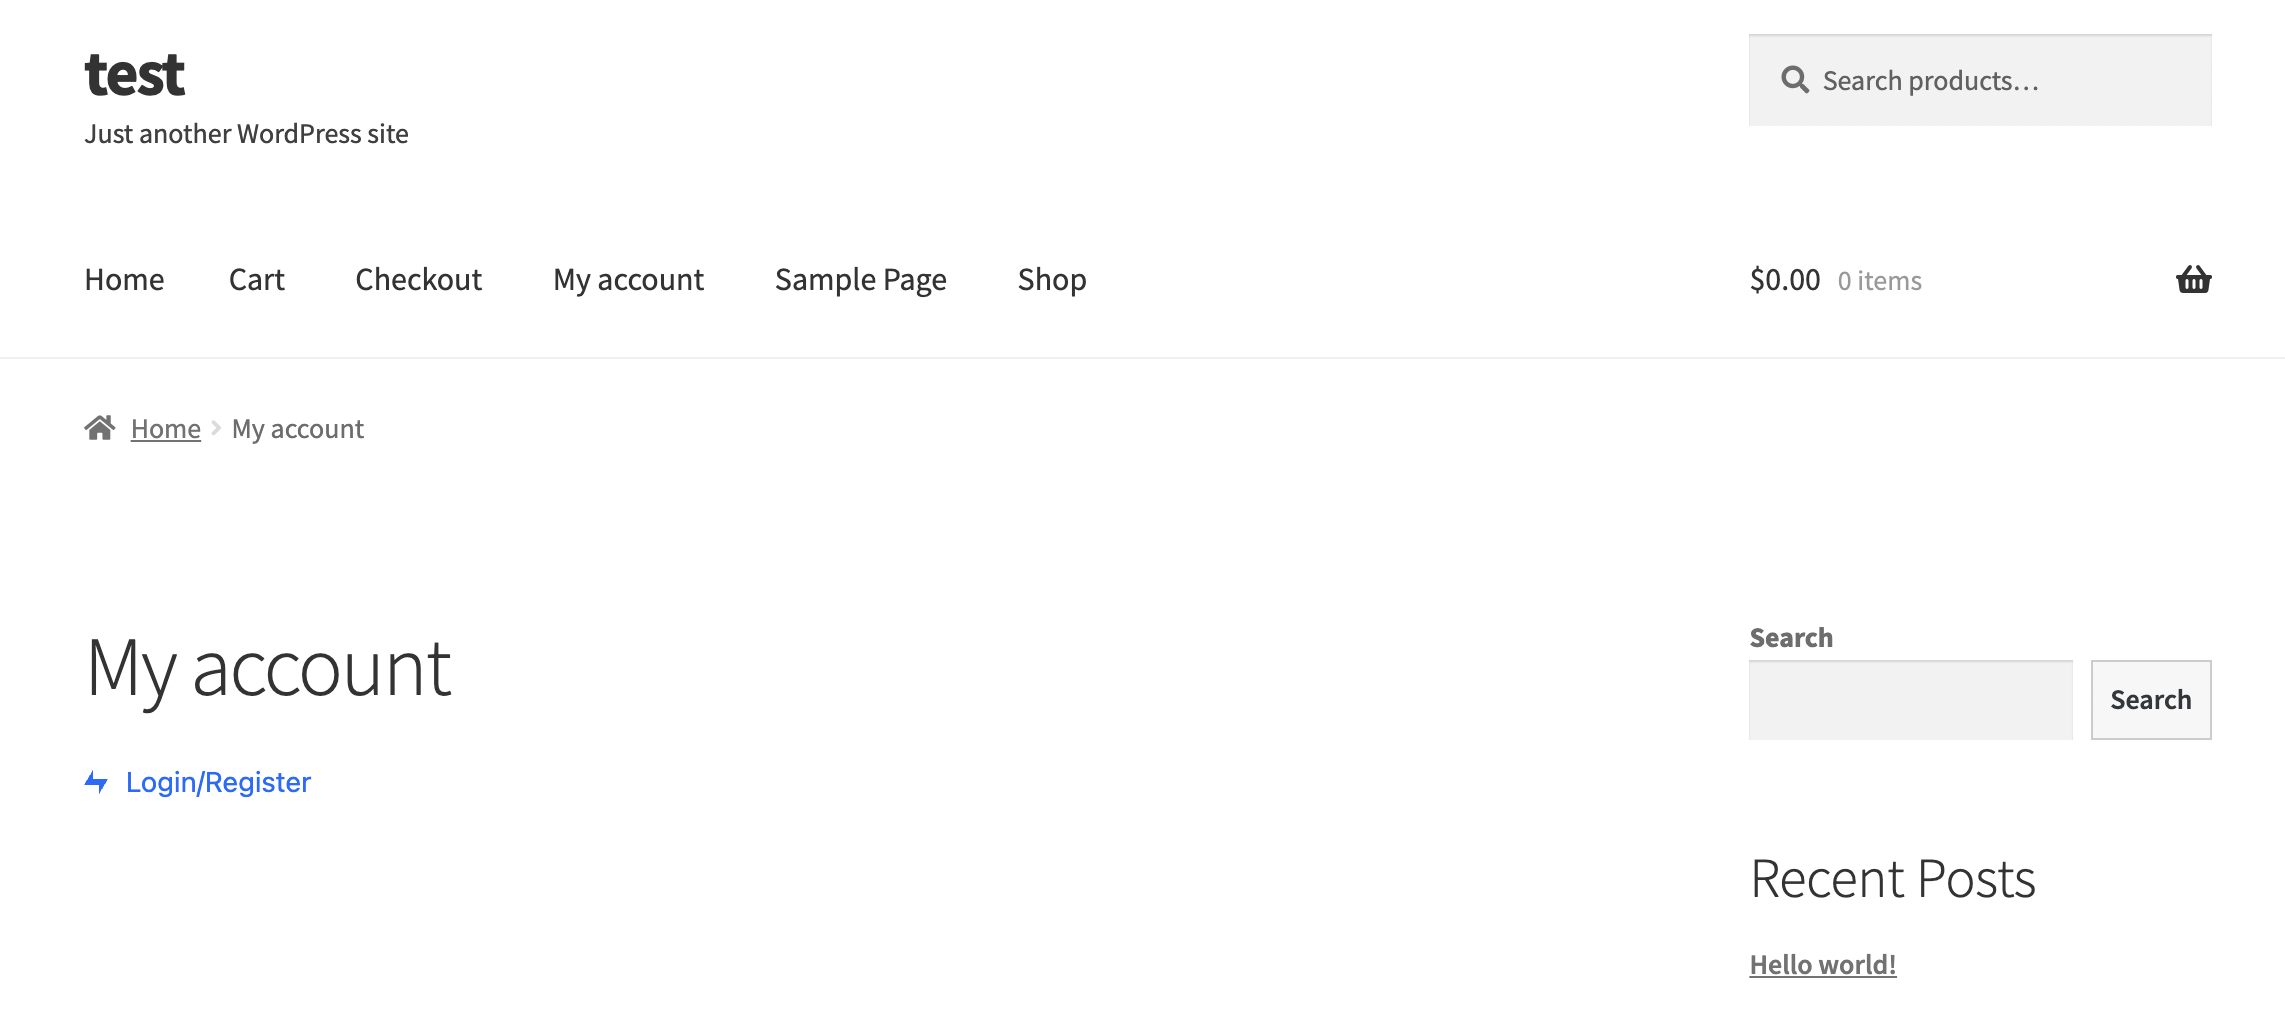
- In the Wordpress Dashboard navigate to Pages > My Account and add the Shortcode component to the page with the shortcode
[bc_login] - The shortcode populates the Bolt login link on your store.
 4. When a user clicks the link, the Bolt login modal appears.
Product Variants
Fraud Only
If you are using Bolt’s Fraud-Only offering, complete the following steps in addition to those previously listed:
- Log into the Bolt Merchant Dashboard.
- Navigate to Administration > API > API Keys.
- Copy all of the following keys:
- API Key
- Publishable Key - Payment Only. The publishable key is a long string of lower and upper case letters and numbers that consists of three sections.

- Signing Secret
- Open a separate browser tab.
- Log into the store admin.
- Navigate to Plugins > WooCommerce Bolt Checkout > Settings.
- Insert your Bolt key credentials for all of the following:
- API key
- Publishable Key - Payment Only
- Signing Secret
- Scroll to the Where to add Bolt? section.
- Enable all of the following:
- Native Checkout Page
- Pay for Order
- Deselect all of the other options.
- Ensure there is no CSS in the Additional CSS section. (In particular, any styling that might prevent the original checkout button from displaying.)
Review Order Statuses & Platform Operations
You can review WooCommerce order statuses and platform operations in our Platform Operations guide.
Extensions
Most customizations should only be made from the plugin settings page. For special use cases with unique requirements, the Bolt Integrations team can provide a custom zip file to the merchant containing added functionality. This section details how to install the merchant-specific Bolt Extensions.
Step 1: Upload Extension
- Log into the WordPress Admin Dashboard.
- Navigate to Plugins.
- Select Add New.
- Search for
WooCommerce Bolt Checkout Extensions - Merchant Name. - Select Install Now.
- Select Activate after installation is complete.
Step 2: Verify Extension is Active
- Navigate to Plugins.
- Verify that the extension plugin appears and is activated.
Update Bolt Plugin
Each plugin in WooCommerce is located in a separate directory inside wp-content/plugins/
- Delete the old extension plugin.
- Install the new extension plugin.
- Activate the new extension plugin.
See WooCommerce’s official documentation for more information.
TIP
If you are upgrading your version of the Bolt plugin and have the Bolt Extension plugin installed as well, be sure to update both plugins. Failing to upgrade Bolt Extension plugin could break some functionality of the primary Bolt plugin.
Supported WooCommerce Versions
| Bolt Plugin Version | Release Date | Supported Until | Platform Versions |
|---|---|---|---|
| 2.20.0 | 01/04/2024 | 01/04/2025 | WooCommerce 3.7 & Above |
| 2.19.0 | 11/29/2023 | 11/29/2024 | WooCommerce 3.7 & Above |
| 2.18.0 | 02/02/2023 | 02/02/2024 | WooCommerce 3.7 & Above |
| 2.17.0 | 11/4/2022 | 11/04/2023 | WooCommerce 3.7 & Above |
| 2.16.0 | 7/25/2022 | 07/25/2023 | WooCommerce 3.7 & Above |
| 2.15.0 | 03/14/2022 | 03/14/2023 | WooCommerce 3.7 & Above |
| 2.14.1 | 04/21/2021 | 04/21/2022 | WooCommerce 3.7 & Above |
| 2.14.0 | 03/04/2021 | 03/04/2022 | WooCommerce 3.7 & Above |
| 2.13.1 | 10/13/2020 | 10/13/2020 | WooCommerce 3.7 & Above |
| 2.13.0 | 09/29/2020 | 09/29/2021 | WooCommerce 3.7 & Above |
| 2.12.0 | 08/19/2020 | 08/19/2021 | WooCommerce 3.7 & Above |
| 2.11.0 | 07/09/2020 | 07/09/20201 | WooCommerce 3.7 & Above |
| 2.10.0 | 06/17/2020 | 06/17/2021 | WooCommerce 3.7 & Above |
| 2.9.0 | 05/27/2020 | 05/27/2021 | WooCommerce 3.7 & Above |
| 2.8.0 | 05/12/2020 | 05/12/2021 | WooCommerce 3.7 & Above |
| 2.7.1 | 04/22/2020 | 04/22/2021 | WooCommerce 3.7 & Above |
| 2.7.0 | 04/15/2020 | 04/15/2021 | WooCommerce 3.7 & Above |
| 2.6.0 | 03/24/2020 | 03/24/2021 | WooCommerce 3.7 & Above |
| 2.5.0 | 03/03/2020 | 03/03/2021 | WooCommerce 3.7 & Above |
| 2.4.0 | 02/04/2020 | 02/04/2021 | WooCommerce 3.7 & Above |
| 2.2.0 | 01/09/2020 | 01/09/2021 | WooCommerce 3.7 & Above |
| 2.1.0 | 12/15/2019 | 12/15/2020 | WooCommerce 3.7 & Above |
| 2.1.1 | 11/21/2019 | 11/21/2020 | WooCommerce 3.7 & Above |
| 2.0.11 | 11/21/2019 | 11/21/2020 | WooCommerce 3.7 & Above |
| 2.0.10 | 09/13/2019 | 09/13/2020 | WooCommerce 3.7 & Above |
| 2.0.5 | 09/03/2019 | 09/03/2020 | WooCommerce 3.7 & Above |
| 2.0.2 | 06/27/2019 | 06/27/2020 | WooCommerce 3.7 & Above |
Disable Bolt Plugin
- Log into WordPress as an Admin.
- Navigate to Installed Plugins.
- Scroll to the Bolt Plugin.
- Select Deactivate.
Uninstall Bolt Plugin
- Log into WordPress as an Admin.
- Navigate to Installed Plugins.
- Scroll to the Bolt Plugin.
- Select Deactivate. The delete button populates.
- Select Delete and confirm.
- Repeat this process for all Bolt Extension Plugins to ensure all Bolt elements are removed.
Re-platforming
When re-platforming, you must keep in mind all of the following:
- Use the Merchant Dashboard for order refunds. Do not use a platform-specific backoffice flow that’s connected to a deprecated account division.
- Disable all of your old webhooks for the deprecated account division.