Route is a delivery insurance system. Shoppers can add shipping protection to their carts, if a merchant is using the Route Add-on.
Merchants can add Route as a product add-on after they set up their Bolt integration.
When using the Dynamic Add-on for Route, the checkout total is calculated by calling one of Route’s servers to get the total price including the added cost of Route’s insurance service.
| Availability |
|---|
| BigCommerce, Adobe/Magento 2, WooCommerce |
Set Up Route for Adobe/Magento 2 or WooCommerce
Before You Start
-
Install one of the following ecommerce platform integrations:
-
- Adobe Commerce/Magento 2 (Fraud Only or Checkout)
-
-
Contact your Bolt customer success manager (CSM) and request that they enable Route. A Bolt admin will enable the following feature flags:
-
product add-ons at checkout
-
Enable Route *integration*
-
dynamic add-ons at checkout
-
Step 1: Obtain Route Public Key
- Log into the Route dashboard and navigate to Admin > Settings > Store Details.
- Find the Public Token and copy the value for use in a later step.
Step 2: Add Public Key to Bolt
- Log in to the Bolt Merchant Dashboard.
- Navigate to Settings > Checkout.
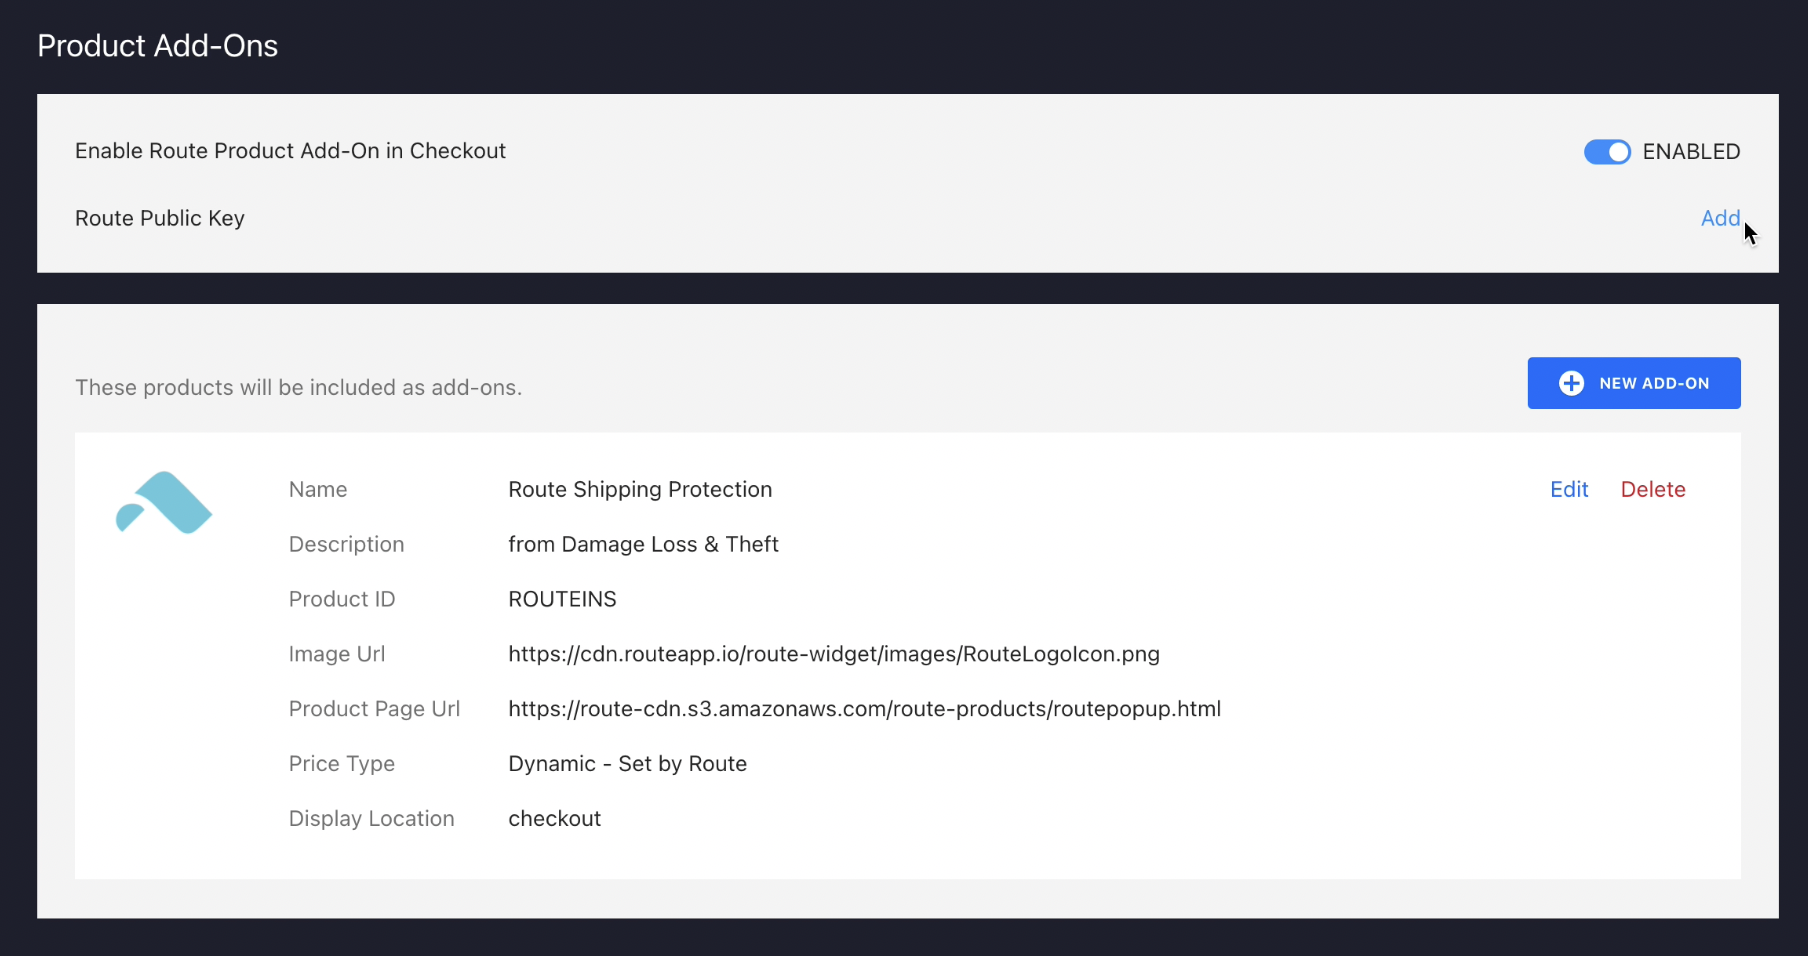
- Find Product Add-Ons in Checkout and toggle + Enable Route Integration to
Enabled. - A module appears in the add-ons section with Route configurations pre-filled.
- Click
Addand enter your Public Key from Route into the provided field. - Click
Save.
TIP
Shoppers can see dynamically priced Route shipping insurance as an add-on during checkout.
Set Up Route for BigCommerce
INFO
These instructions are only for merchants using BigCommerce.
Before You Start
- Install one of the following BigCommerce integrations:
- • Fraud Only
- • Checkout
- • BigCommerce One-Click
- Add Bolt Scripts to your BigCommerce store.
- Submit your Route Public Key to Bolt.
- Grant Bolt’s team access to your BigCommerce store via
dev@bolt.com. - Contact your Bolt customer success manager (CSM) and request that they enable Route. A Bolt admin will enable the following feature flags:
- •
product add-ons at checkout - •
Enable Route integration
- •
Obtain Route Public Key
Installation
- Install the Route App to your BigCommerce storefront.
- Add the following to all
connect.jsscripts across your pages:
data-storefront-api-token="{{settings.storefront_api.token}}"
route-public-token="PUT ROUTE PUBLIC TOKEN HERE"
- Review the script. It should look like this:
<script
id="bolt-connect"
type="text/javascript"
src="https://connect.bolt.com/connect-bigcommerce.js"
data-publishable-key="PUBLISHABLE KEY"
data-shopping-cart-id="BigCommerce"
data-storefront-api-token="{{settings.storefront_api.token}}"
route-public-token="PUT ROUTE PUBLIC TOKEN HERE"
- Make sure that the script for automatically reloading the Bolt cart is correct. The correct script should include the following code snippet:
if (newPrice !== totalPrice && window.BoltCheckout && window.BoltCheckout.reloadBigCommerceCart ) {
          window.BoltCheckout.reloadBigCommerceCart();
      }
- Publish the theme.
Add Route as Bolt Product Add-on
- Log in to the Bolt Merchant Dashboard.
- Navigate to Settings > Checkout.
- Find Product Add-Ons in Checkout and toggle + Enable Route Integration to
Enabled. - A module appears in the add-ons section with Route configurations pre-filled.
- Click
Addand enter your Route Public Key into the provided field. - Click
Save.
Shoppers can now see dynamically priced Route shipping insurance as an add-on during checkout.